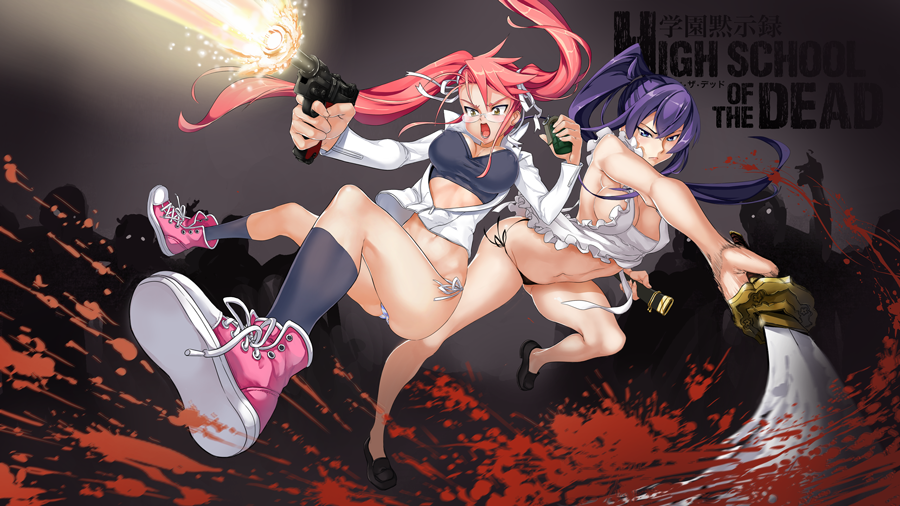
It seems like a lot of my watchers expressed interest in seeing a tutorial on how I painted the Saya x Saeko Fanart piece, so here it is. I'm going to break down everything into the basic elements so it's easy to follow along. However I can't cover everything as that'll take way too long and this is already running pretty long as it is. I'll save the finer details for future, more in depth tutorials
Lines And Setup
Composition
 The first step is to set up the composition. I outlined Saeko first and Saya second. The two are on separate layers so I could play around with their placement. I also did some rotating of the two until I ended with the final look. During this step don't be afraid to play around with all the characters and objects, either with rotation or resizing to get the look that you want. It's best to keep your lines rough by using a large brush size during this step, as you don't want to waste time going into fine detail, since its likely you'll be altering it.
Pencil Sketch

Pretty self explanatory. Remember you don't need to follow the composition roughs exactly. As you can tell from the overlay I've made significant adjustments, this is why I recommended not going into too much detail when sketching the composition earlier, as you'll probably end up changing it somewhere down the line anyways. I actually sketched Saya's hand and gun on a separate layer and made a lot of adjustments and resizing until it the foreshortening looked right.
- At this point you can start painting if you're not planning on doing inks.
Digital Inks
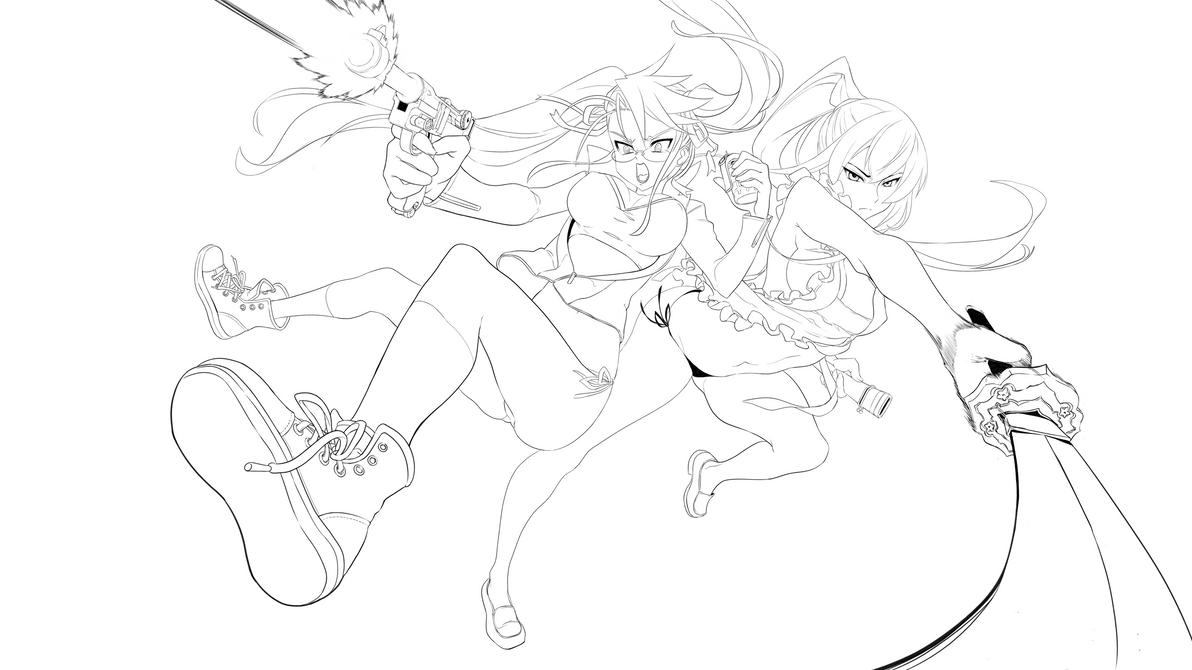
There's two inking styles in play here. The two girls were done in the 'weightless' ink style I use for colors. There's very little line weight applied, as I don't the lines to stand out when I color it. There are other coloring styles where the line art is heavily emphasized even with colors, but that's not the look I want for this piece. Saeko's hand and sword are done in the style I normally use for b/w manga, where heavier line weights and speed lines are used to emphasize motion and create depth.
Flats

The flats are separated onto separate layers for skin, hair, clothing, and accessories. I put Saya and Saeko's flats on the same layer here but if I were to do it again I'd have them on separate layers for quick selection. I also applied a gray background to give the picture a more neutral tone and also as a way to easily tell if there are gaps in the flats.
Light Sources
Primary Light Source

Generally the primary light source for out door scenery is the sun, and for indoors is a light. In this case I used the gun flare as the primary light source, which will dictate how all the strong cast and self shadows will be drawn. There's quite a bit of artistic license involved here, as a bullet flash will not be enough to light up the scene like so, especially considering the background.
Ambient Lighting
Or atmospheric lighting, reflected lightning. In most cases this reflected lighting from the environment sourced from the primary light source, or weaker lighting from secondary light sources. In this case, I just used a studio lighting setup even though it doesn't quite make sense here (artistic license amirite?). The specifics of secondary lighting is something I'm still learning, so I'm not going to go much into here.
Skin
Base Skin Rendering

The skin is rendered using a hard/soft process that I'm still in the progress of working out. I didn't save any in-progress screenshots since I was trying to figure out how to paint it the way I wanted while working on this piece and there was a lot of trial and error involved. Once I have the technique down and work out a few more kinks I'll have a future tutorial on it.
Cast Shadows
This is a pretty useful trick I picked up from watching various tutorials. It saved a LOT of time and the effects look great. I didn't use it that much in this piece because there weren't a lot of places I wanted to use it on, but in the few places I did I think it worked out really well.
- Start by laying down the cast shadows with the tone you want. I used a 100% opacity hard round brush for this.
- Now I softened up the edges and lightened parts of the cast shadows by using a soft round brush set as the eraser, changing between 20% and 40% opacity to 'soften' the cast shadow.
- Finally, I set the cast shadow layer type to 'multiply' and change the opacity to around 50%. This allows for the details on the skin rendering to come through, while retaining the overall look of the cast shadow.

The correct use of cast shadows will give your painting a lot more depth. Of course sometimes you may want to leave out certain ones in order to accentuate particular features. In this case Saeka should have a cast shadow from Saya, but I decided to leave it out.
Highlights

Finally I apply the highlights using a hard round brush at 100% opacity. Then I use the soft round eraser at 40% to 'soften' up certain areas (the knee for example).
Face
Pretty self explanatory. It's all pretty simple once you break it down into layers. I ended up painting over the tongue because I didn't like how the lineart looked once I colored it.
Hair


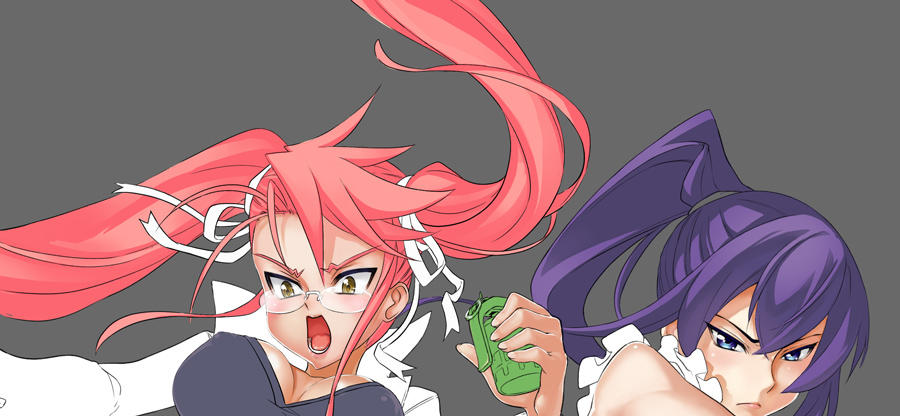


Hair is layered in the same way. I used a combination of 100% opacity hard brush to create the cell shading and softened with the soft brush eraser. The exception is first layer sitting on top of the base layer, where I apply some soft gradients using the soft brush tool at 10-40% opacity.
P08 Luger
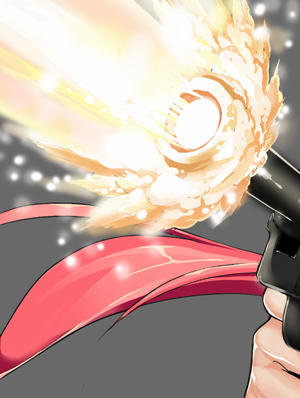
The luger doesn't really come together until the highlights are added. It's important to realize that when you're digital painting via layering, sometimes things won't look good until the end. That's why its important to not give up halfway through. The initial muzzle flash followed the lineart, but it didn't really look right, hence the particle cannon paint-over.
Final Touches
Background
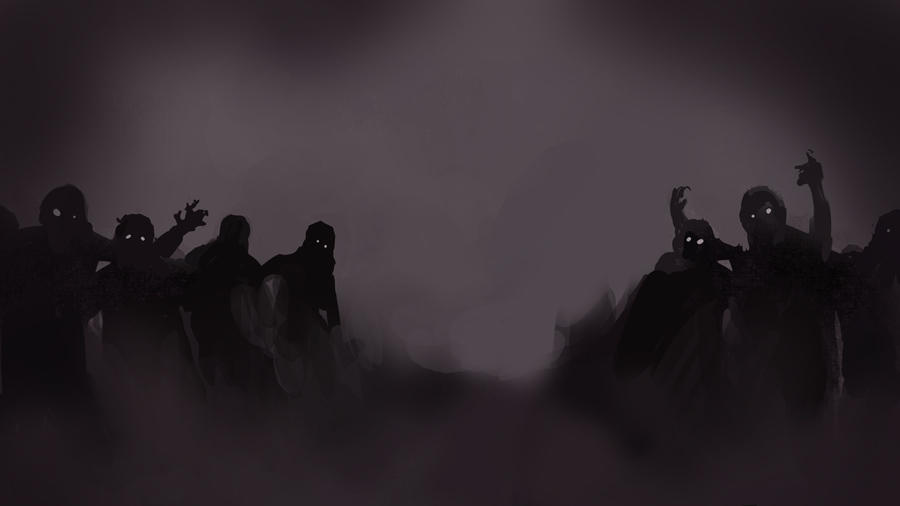
Ambient Overlays


I use the soft round brush at 10% and 40% opacity to add some additional colors to create even more depth. For example, on Saeko's legs I add a bit of purple-gray to indicate the distance from the viewer and light source, and make it feel like it's blending into the background. Same with Saya's shoes, where I add a tint of purple to the shadows to cool it a bit. On Saya's socks there is a bit of skin tone added to give a bit of at translucent feel. Some additional lighting is added around the particle beam to give it more glow.
Last Words
I hope this has been helpful. It's my first in depth tutorial so please leave a comment if things are unclear or if there's more you want to see. I'll keep them in mind for future tutorials.
Skin by SimplySilent


![Llama Emoji-07 (Hopeless or Scared) [V1]](https://images-wixmp-ed30a86b8c4ca887773594c2.wixmp.com/f/db95d15b-8c0c-4bb6-b743-1beb61737925/d6tyqhi-598050e0-4ca3-43d1-be2a-5ded67a60fda.gif?token=eyJ0eXAiOiJKV1QiLCJhbGciOiJIUzI1NiJ9.eyJzdWIiOiJ1cm46YXBwOjdlMGQxODg5ODIyNjQzNzNhNWYwZDQxNWVhMGQyNmUwIiwiaXNzIjoidXJuOmFwcDo3ZTBkMTg4OTgyMjY0MzczYTVmMGQ0MTVlYTBkMjZlMCIsIm9iaiI6W1t7InBhdGgiOiJcL2ZcL2RiOTVkMTViLThjMGMtNGJiNi1iNzQzLTFiZWI2MTczNzkyNVwvZDZ0eXFoaS01OTgwNTBlMC00Y2EzLTQzZDEtYmUyYS01ZGVkNjdhNjBmZGEuZ2lmIn1dXSwiYXVkIjpbInVybjpzZXJ2aWNlOmZpbGUuZG93bmxvYWQiXX0.M60tuPZoZovrEQRU5AV96Ek2_tZlNBDNUbPUE-g0QYg)


